Create a Workflow with Composer
The Arvados Workflow Composer is a graphical interface for building Common Workflow Language (CWL) workflows to run on Arvados.
This tutorial will demonstrate:
- Creating a new git repository through Arvados to store the workflow
- Creating CommandLineTools for “sort” and “uniq”
- Creating a Workflow which uses “sort” and “uniq” to remove duplicate lines from a text file
- Submitting the Workflow to run on Arvados
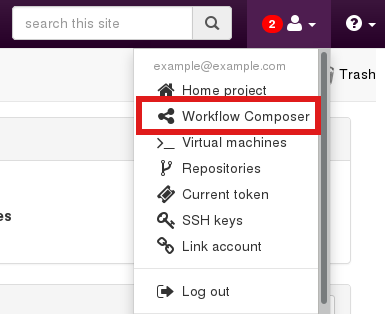
1. Access from workbench
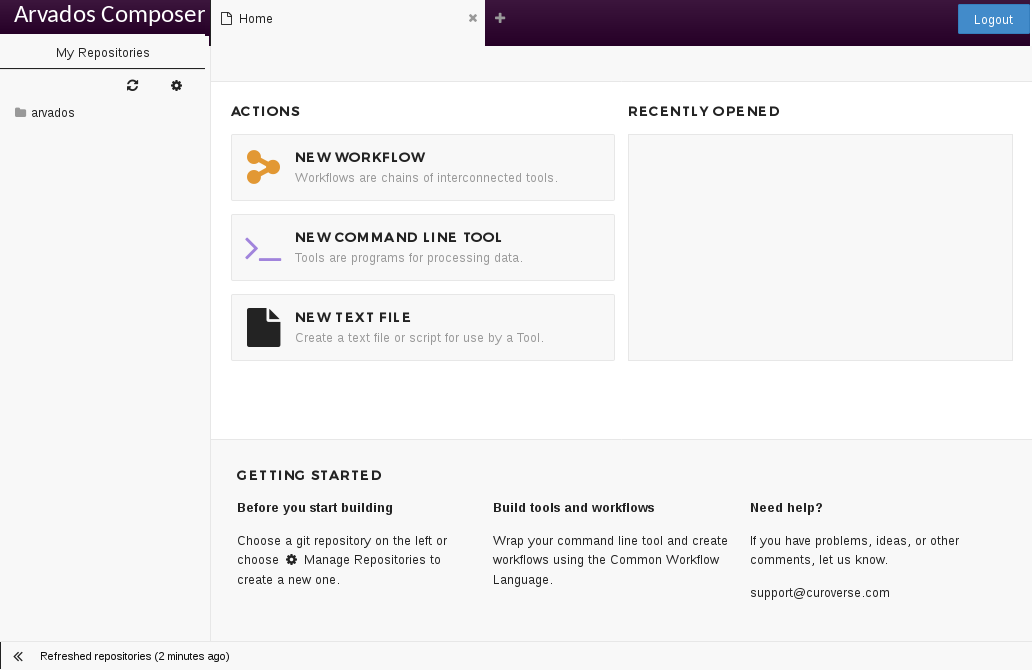
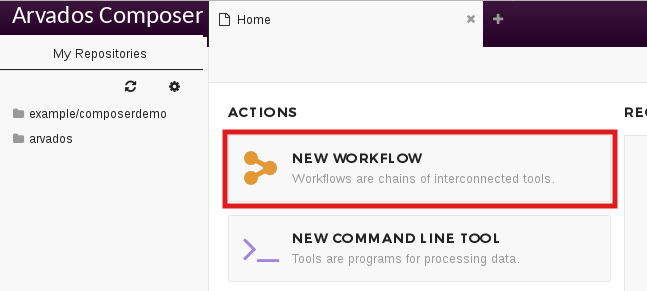
2. Composer starting page
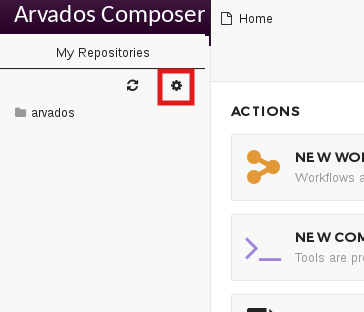
3. Manage git repositories (opens Workbench in new tab)
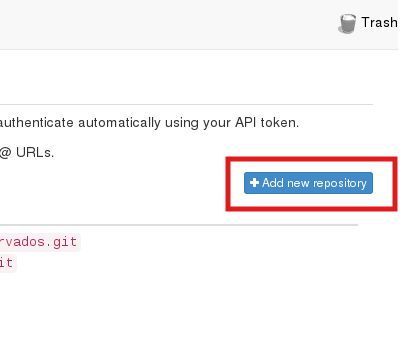
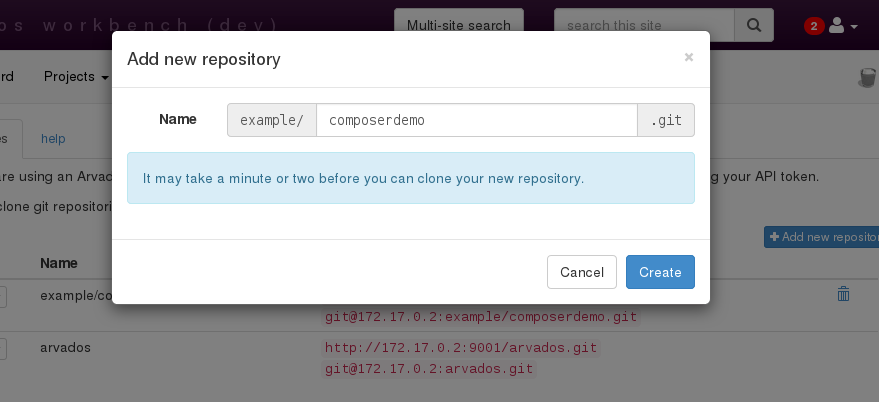
4. Add a new repository
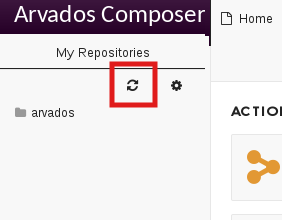
5. Return to Composer. Use refresh button to discover new repository (may take a few moments to show up).
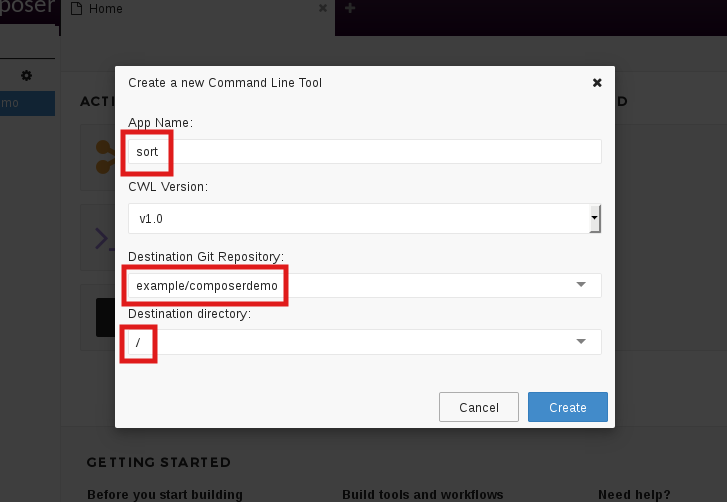
6. Create a new Command Line Tool

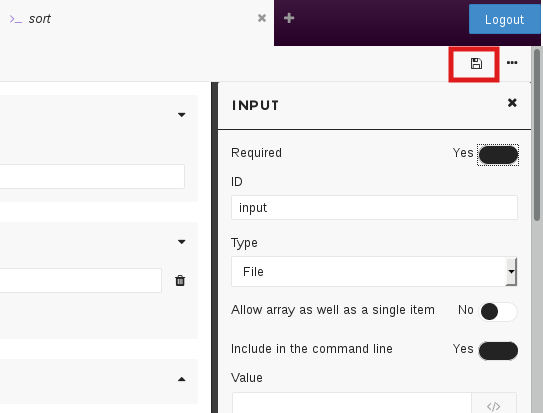
7. Set Docker image, base command, and input port for “sort” tool
The “Docker Repository” is the name:tag of a Docker image uploaded Arvados. (Use arv-keepdocker --pull debian:8) You can also find prepackaged bioinformatics tools on various sites, such as http://dockstore.org and http://biocontainers.pro/ .

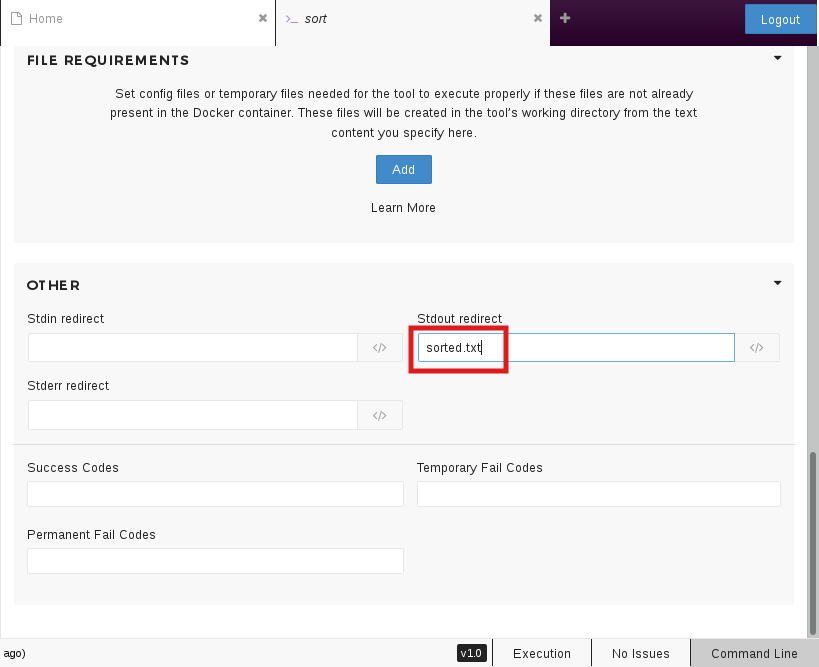
8. Redirect stdout to a file
9. Capture output file
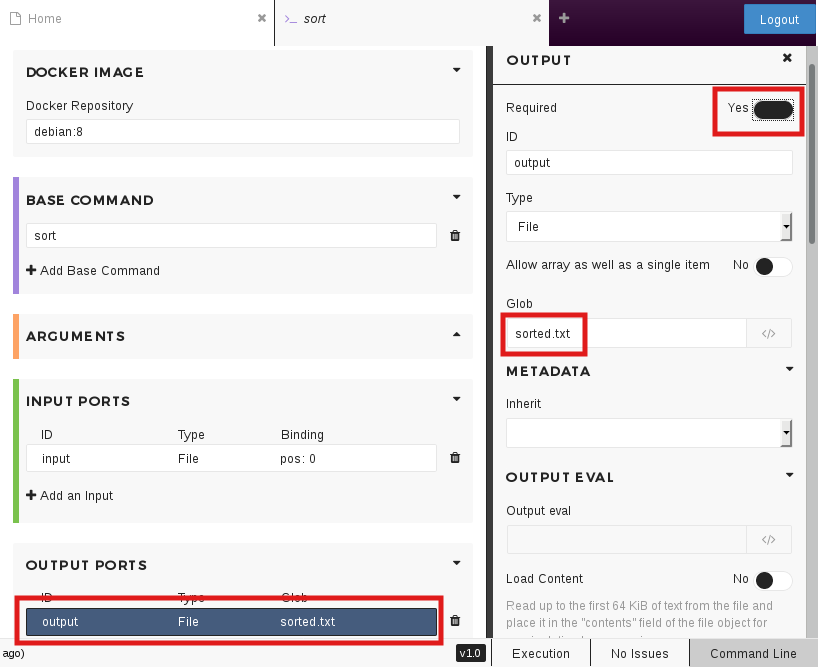
10. Save Command Line Tool
11. Repeat steps 6-10 for “uniq” tool
Create a new tool with a “base command” of “uniq”.
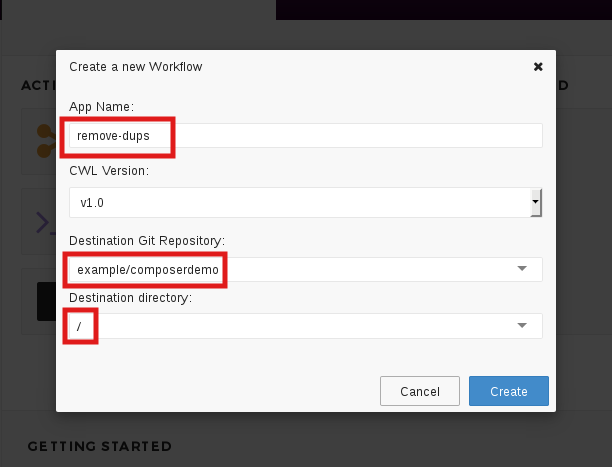
12. Switch back to “Home” tab and create workflow
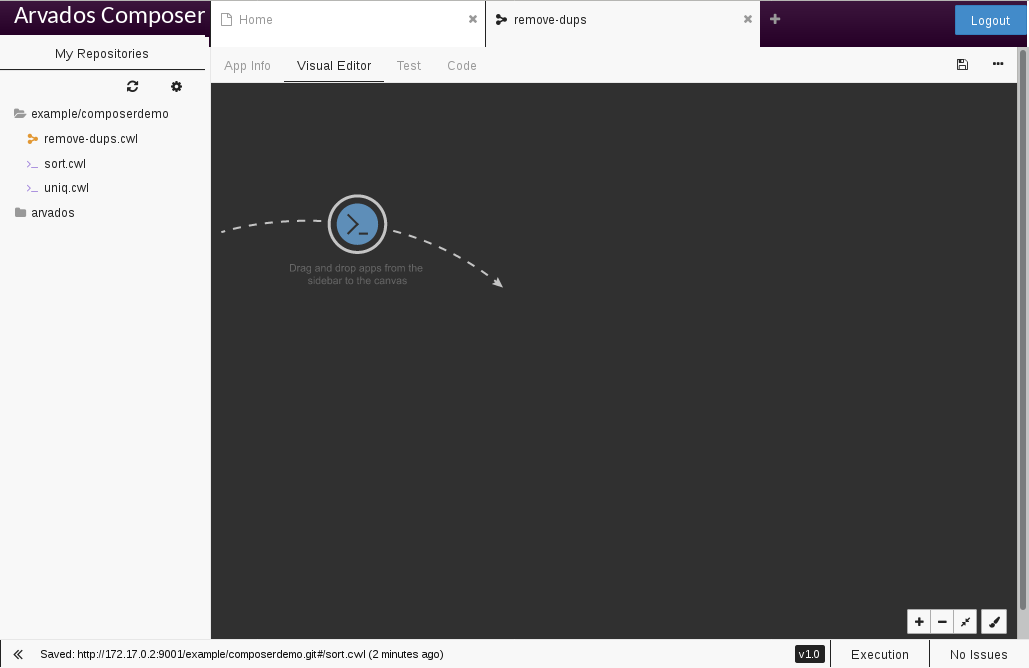
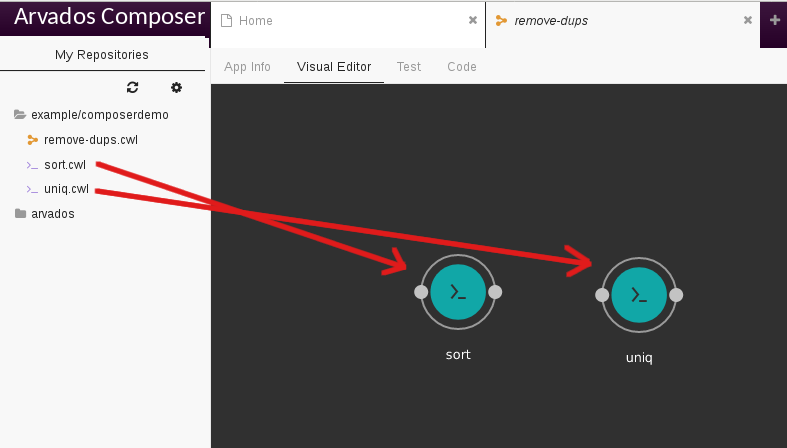
13. Drag and drop tools into Workflow
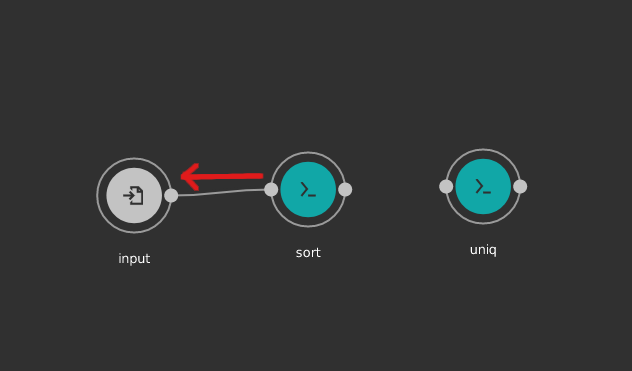
14. Drag from input port of “sort” to empty space to create workflow input
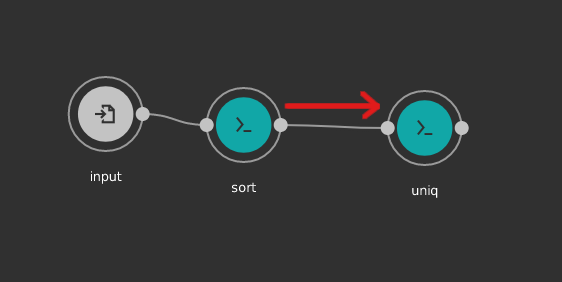
15. Drag from output port of “sort” to input port of “uniq”
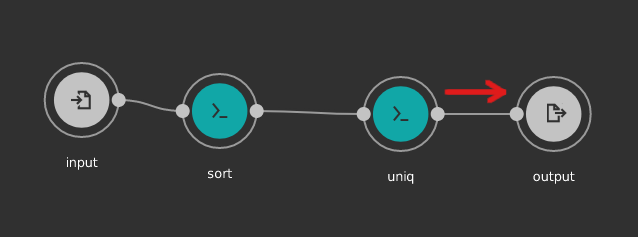
16. Drag from output port of “uniq” to empty space to create workflow output
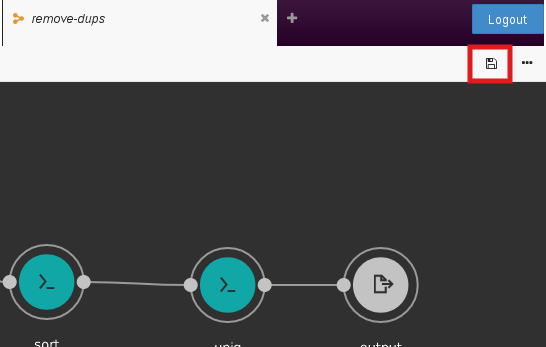
17. Save Workflow
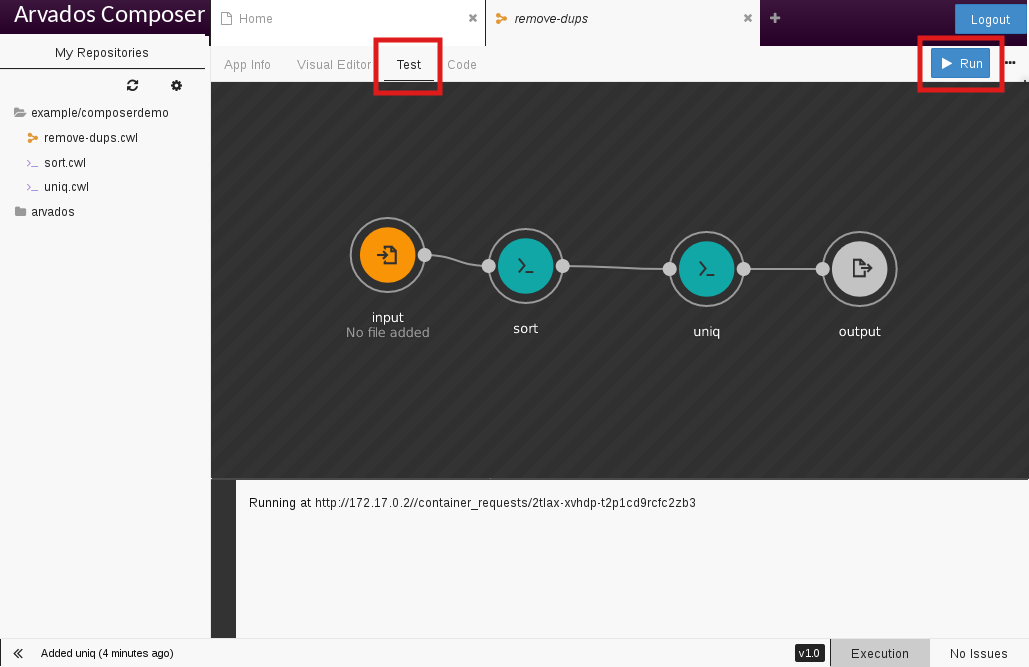
18. Click on “Test” tab then click “Run”
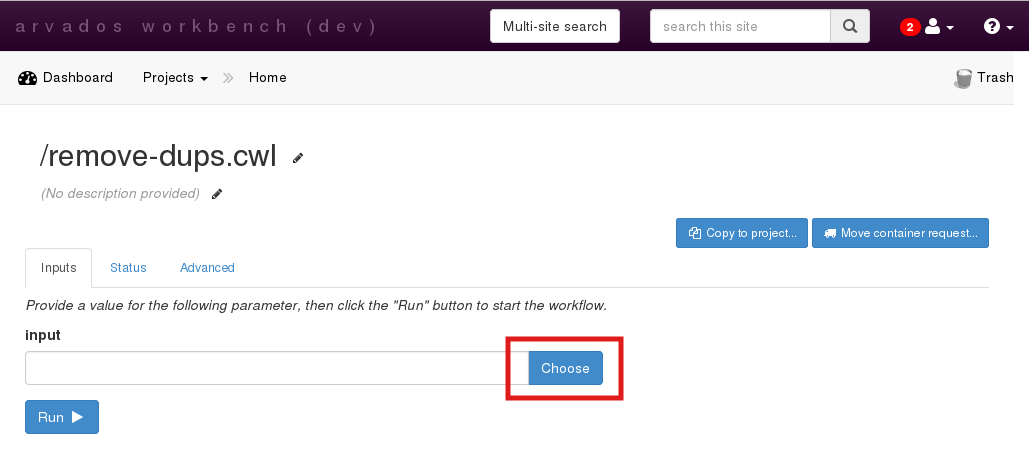
19. Choose input file
You may need to upload an input file
20. Run the workflow

21. Monitor progress (may take several minutes)
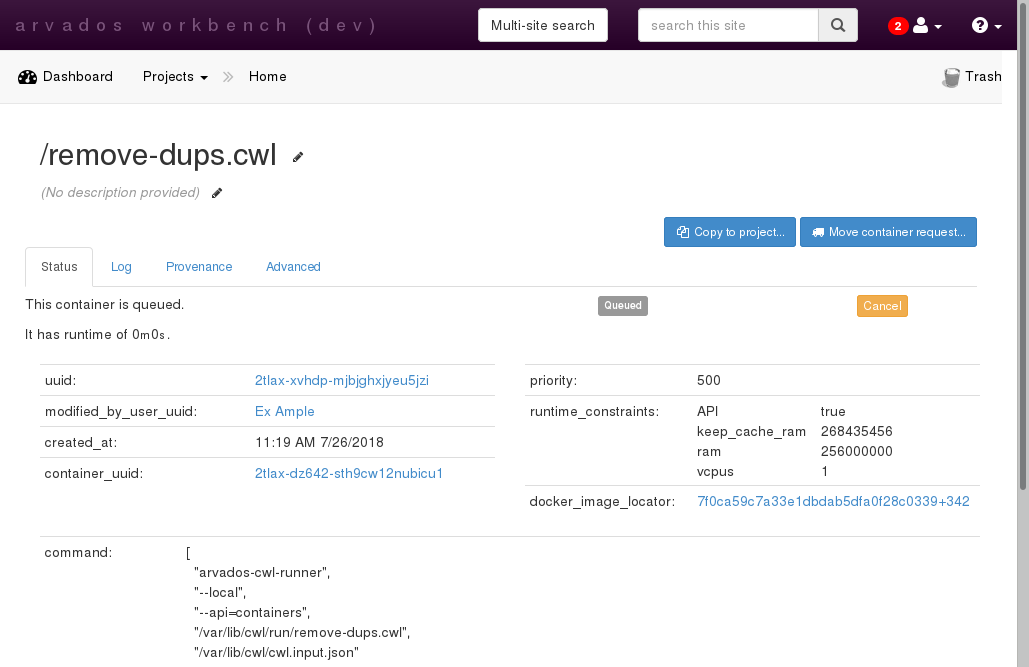
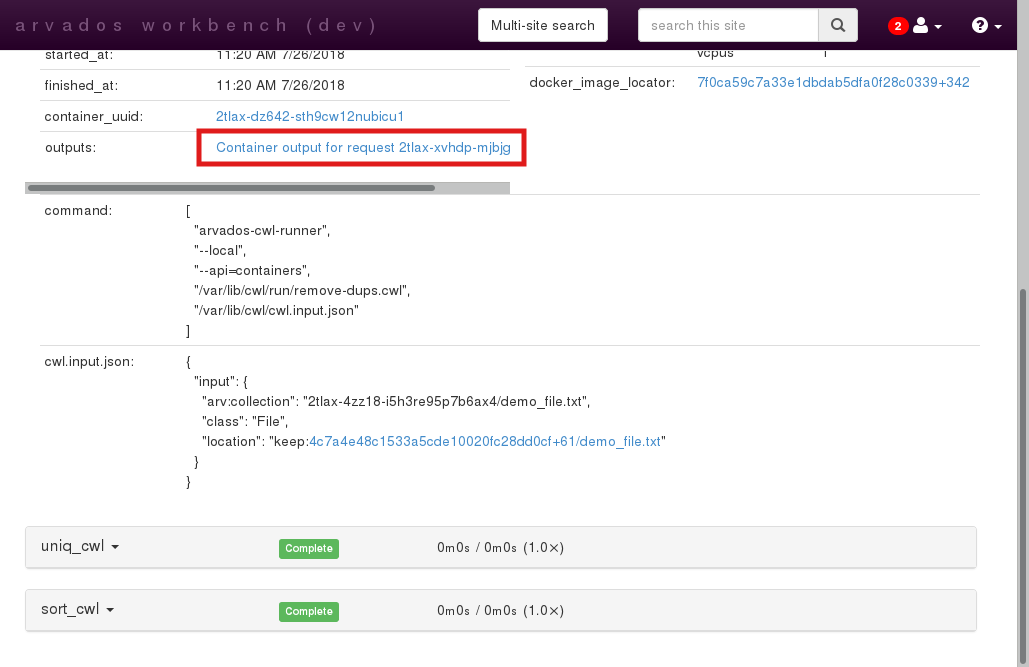
22. Get workflow output
Previous: Running a workflow using Workbench Next: Accessing an Arvados VM with Webshell